Tuesday, September 24, 2013

Fall Mantel

Fall is finally here!  Well, at least the calendar says so.  I live in Florida.  So I will just have to pretend there is a chill in the air and that the leaves on the trees are changing colors.


I love fall decor.  I couldn't wait to get out my decorations.  Don't you just love going through the decorations from years past and deciding how to mix things up!  I do.  Never the same decor around here!


I loved the little candy corns that my daughter and I made last year.  They are so cute!! And look great with all the other fall decorations.  The pallet wood is just leaning up against the wall.  

  
This wood sign took just a few minutes.  I painted a scrap piece of wood with multiple "fall colored" craft paints.  Didn't even wait for them to dry before I put on another color.  I used Mod Podge to adhere some scrapbook letters to the scrap wood after the paint was dry.

The bunting was just some twine and scrapbook paper.  I chose some that went with the decor.  A little craft glue and it was good to go!


Happy Fall Y'all

Linking up to:

Friday, August 23, 2013

I've been featured!!

I love when I see my pictures posted on another blog.  :)  Don't you??

Allison at House of Hepworths has featured me this week.  Ya,uh!


http://images.houseofhepworths.com/buttons/2013-logo-link-party-featured-button-hoh.png

She featured the molding I put on the kitchen/dining room doorway.  Timely, since I am working on the dining room/entry doorway this weekend.  In between football games.  My boys are now playing football and we no longer have any free time.  Or social life.  At. All.  So this project may take a while.

Good thing I love these little guys!

Check out her wonderful blog over at House of Hepworths.  She has killer ideas.  Many of which I have stolen affectionately copied.

Thanks Allison!  You Rock!

Tuesday, August 13, 2013

Naked door no more! And a bonus. :)

I have never understood why our builder didn't finish out our doors and windows.  Well, not all of them anyways.  The windows only have a sill and trim under the sill.  I've fixed that on most.  But some of the doorways (the ones without doors...do you still call them doorways??) didn't have any kind of trim.  They have always looked naked to me. 


See...just plain old drywall.  Except mine isn't plain...it has texture! Oh yeah boo! :(

While browsing the blogs one day, I came upon this beauty...and ding, ding, ding...inspiration struck!
www.thecharmingnest.com/2012/01/diy-door-casingsthe-easy-way.html

Pretty door casing! All done DIY and explained by Erin at The Charming Nest.

I could do this!  I can do this!  I am now in the middle of doing this...well, that part isn't so exciting.  But, I have finished out the casing on one door.  (Dining Room to Kitchen)

I am thrilled with it!!


I can't believe what a difference it makes.  It looks finished.  And the white trim work has brightened up my kitchen amazingly...bonus!

Detail shots.
Another angle, looking from the dining room back into the kitchen.  I didn't worry with getting paint or caulk on the walls because I am going to repaint...soon.
 The only thing I didn't do like Erin @ The Charming Nest is extend the top 1x2 and wrap the cove molding.  I think I will on the other doorways.  I am pretty sure it won't be noticeable that this doorway doesn't have that one small detail.


Did you notice that cute antique sign over the doorway??  Its. Not. Antique.  Or expensive.  I made it from a pre-cut 1x12.   I stained it Ebony by Minwax, cut out vinyl letters to use as a reverse stencil.  I placed them on the board.  Painted with some left over chalk paint in a cream color, sanded and hung it up!   4 foot wide art for less than $12?  Um...yes please!

 
 I purposefully chose a board with cracks and imperfections to make it look old.  Sanding down the sharp edges helps too.

 
I love it!  It isn't perfect...but for now it is DONE! 
 
And Done, is better than Perfect.  Always.
 
Linking up to:

Sunday, July 28, 2013

Been a little wet!

I haven't posted in FOREVER!

Sorry.

It's been raining. And raining.  And then it rained some more.

And when it rains a lot at my house...THIS HAPPENS


Yep.  That is what my backyard has looked like for most of the month.  There is normally grass there where there is now shin deep water.  We have been busy pumping it out to the street.  Every time we get it dry, it rains again. 

Looks like it might be time to find a permanent solution.  If we ever get it to STOP. RAINING.

I have some other projects in progress...they just haven't been given any time since we have been spending all of our time on the flooded yard.

Thursday, February 14, 2013

Chevron Side Table

So I know, I'm late to the chevron party...Whatever.  It's super cute. I hope it is a trend that stays around for a LONG time!
 
I picked up this little beauty for $25.  I knew I could help her out with a little paint!

Ta Da!!

I removed the dated moulding around the bottom.  It had that awesome 1990's shell design.  My husband really disliked the shell.  So, popped that off and added a 6 inch baseboard.  Basic, but
be-U-tiful!!
 
 
The top was scratched up pretty bad.  So, I knew painting was the way to go.
And I didn't want to sand it down, so I tried out this primer. 


So far so good!
 
No I just have to find a home for this beauty!!
 

Wednesday, February 6, 2013

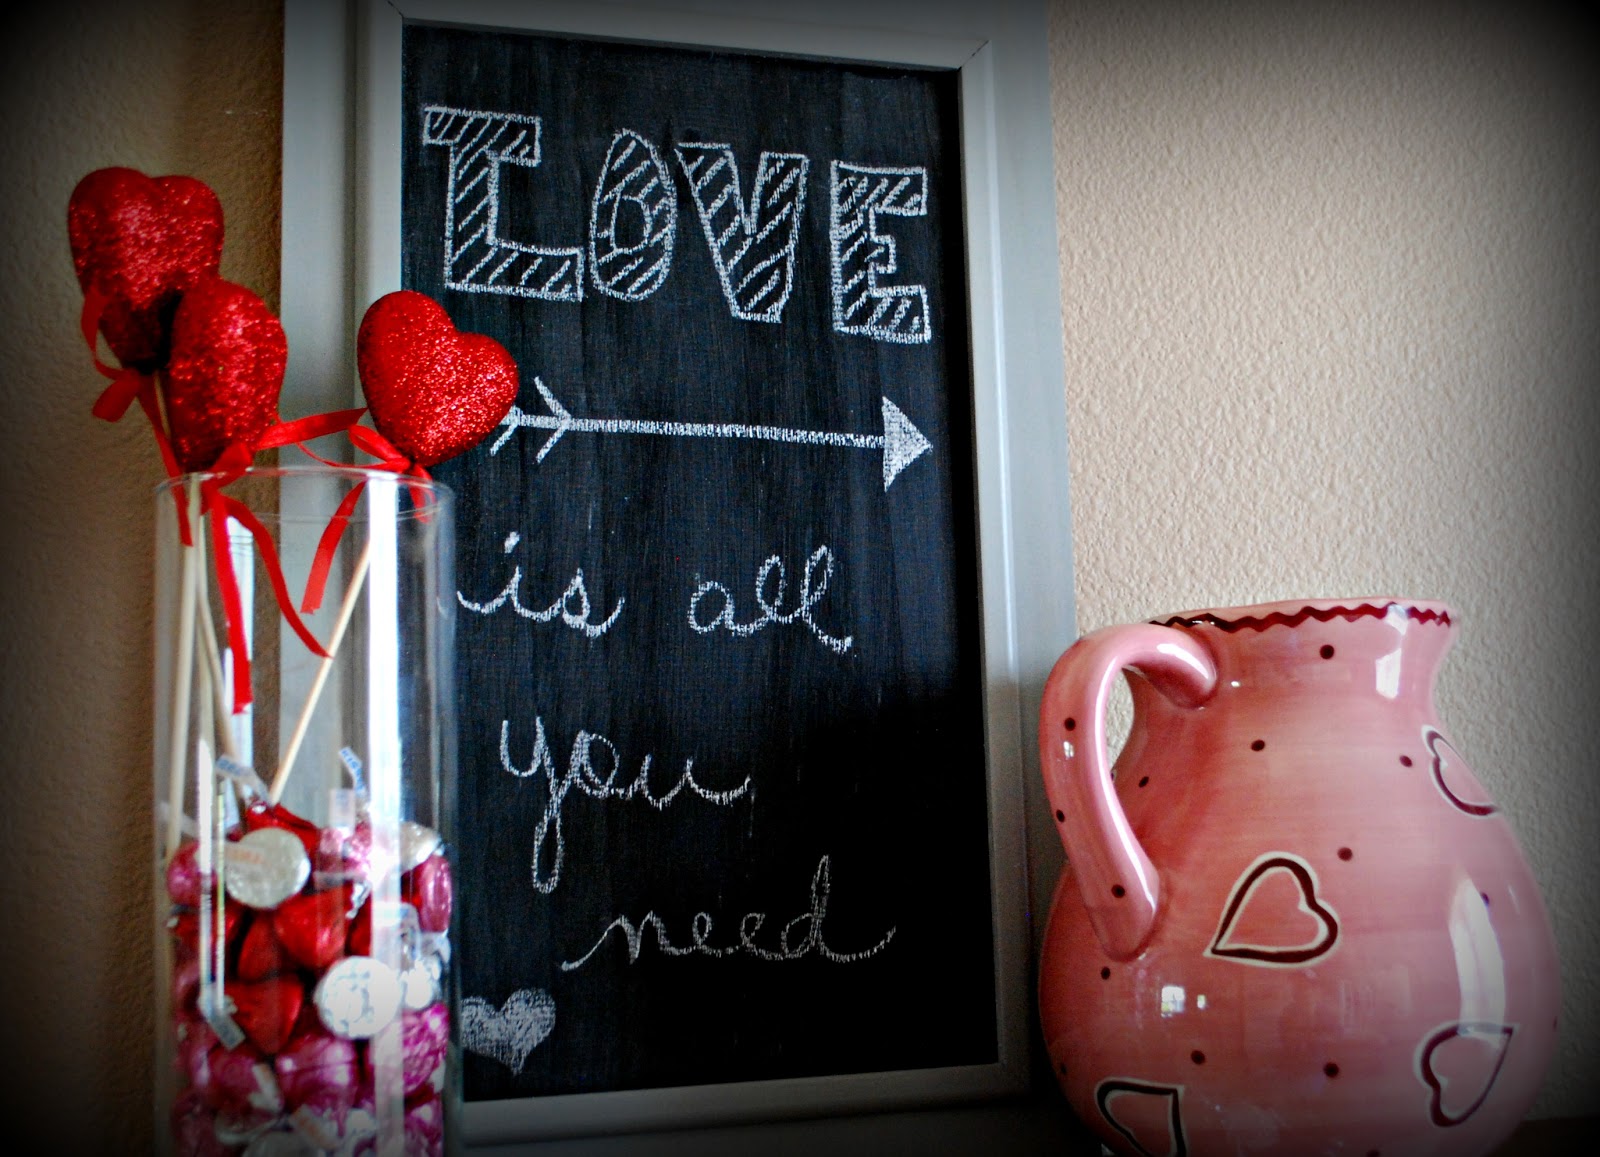
Little Chalkboard Love

So I was looking around on Pinterest one night, and I came across a little chalkboard made from an  old cabinet door.  Loved. It.
 
 
But, I didn't have an old cabinet door.  And I didn't want to purchase one. I do have lots of scrap wood and trim in my stash....sooooo.  With a little paint, trim and wood glue.
Ta Da!!
 
 
I love how it looks in my small Valentine's Day vignette


I can't wait to change it out with different sayings.
 
 
Cute!
 
 
Linking up to:


Friday, January 25, 2013

Too Early for Valentines?

I started decorating for Valentine's Day this week.  Since it is still January, I didn't want to do much.  But I am loving all the banners all over blogland...so...


I made this little cutie for my front door wreath.
 
I started by printing off a design from I should be Mopping the Floor.  I then realized my printer was out of colored ink.  So I thought it was a fail...until I looked again and realized I had a nice neutral grey color.   SCORE!
 
 
I had some hearts in my scrapbooking stash that I hadn't used and I thought they worked well.


A little twine and glue and I had something pretty darn cute!
 

Happy Valentine's Day

Linking to:
Savvy Southern Style
Hookin up with HOH

O.M.G.!!! Love the Blog World

I am over the moon excited!!!  Allison @ House of Hepworths is using my bathroom art as inspiration for her kids bathroom remodel!


I can't believe it!  I have been reading/following her blog for a couple of years.  She has some of the best ideas for making a house a home.  I LOVE her blog....like read it every day, love!
 
The blogger world is so awesome.  Someone that has inspired me is now using something I made for inspiration.  Too cool. 

If you haven't "met" Allison over at her blog...go check her out.  She is da bomb.  Yep, I said that!

Tuesday, January 15, 2013

Kids Bath Finished!!

Well, it only took 2 months....give or take.  It. Is. Finished.  YES!!!


Here's how this all started...dirty towels on the floor!

One seeming little project turned into drywall mudd, sanding, board and batten, framing the mirror, new towels, new shower curtain, and artwork!  Whew.


 Notice the little hook on the bathroom mirror frame?  It's for hand towels!  LOVE
Added some letters to a piece of left over bead board from the entryway storage bench project.  I think the "WASH" sign turned out cute!  The kids just want to know why they have to have a sign to remind them to wash...hmmm, who knows? ;)
 
 
And because we all love a good before and after!

 Our walls all have that textured finish.  Don't love it for board and batten treatment. So I troweled on some drywall compound and smoothed it all out!  Lots of dust, but such a great look now.  Happy happy!

It was a mess...and dusty...and hard work.

But I LOVE, LOVE, LOVE it!!!

Yay...one more project finished!
 
UPDATE:
I had to tweek a little...oh and I need a window treatment of some kind, so technically I am not finished, but ehh.  I will be soon!!
 
I added this stained fence board above the door for a fun little surprise :)
 
The heart was free handed with a paint pen.  I only did one coat the make it a little shabby.
 
This is the fabric I want to use for a faux roman shade.  The window is frosted, so no need to worry about privacy.  Hence the reason it will be a faux shade and not a working one.  I can't wait for the fabric to come in so I can get started!
The fabric is Chipper in Vintage Blue and Natural by Premier Prints.  It's only $14.99 a yard, and I only need about 1/2 a yard.  Much cheeper than buying a roman shade!
 
Linking up to: